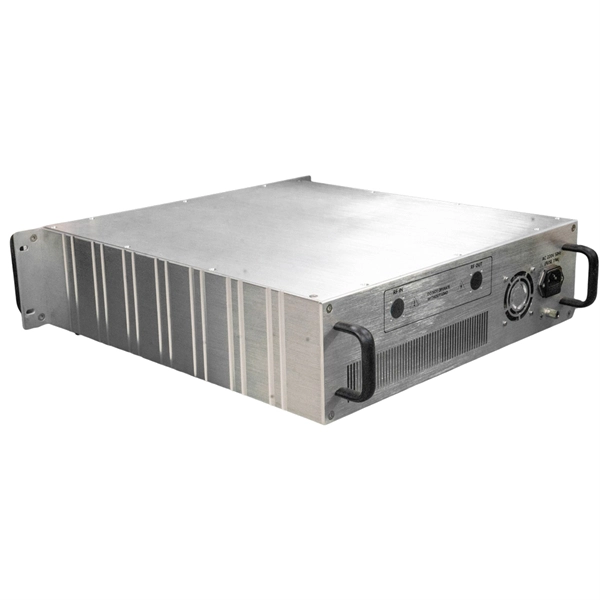
Installing a power supply in a distribution box requires careful placement, proper wiring, and adherence to safety standards to ensure reliable and safe electricity distribution.Preparation and Safety
Before starting, turn off the main power supply and verify with a voltage tester that no electricity is present in the installation area . Wear personal protective equipment such as insulating gloves, safety glasses, and slip-resistant shoes . Prepare tools including screwdrivers, wire strippers, multimeter, and insulation resistance tester, and ensure all wires and components meet electrical specifications .
Choosing the Installation Location
Select a dry, ventilated, and accessible location away from water, flammable, explosive, or corrosive substances . For residential boxes, the recommended height is around 1.5 meters above the ground; for industrial boxes, adjust according to surrounding equipment . Ensure enough space around the box for ventilation and maintenance.
Mounting the Distribution Box
Secure the distribution box to a stable surface using expansion bolts or screws, making sure it is level and firmly fixed . Use an appropriate electrical enclosure to protect internal components from dust, water, and mechanical damage .
Wiring the Power Supply
- Wire Preparation: Strip insulation from the ends of the input wires, leaving enough exposed conductor for secure connections .
- Main Input Connection: Connect the phase (line) and neutral wires from the main power supply to the designated terminals on the main MCB or main switch . For single-phase systems, a double-pole MCB is typically used as the main switch .
- Grounding: Connect the ground wire to the grounding bar in the distribution box to ensure safety .
- Branch Circuits: Connect output wires to individual circuit breakers according to the load requirements, following color coding standards (line to line, neutral to neutral, ground to ground), .
- Wire Management: Route wires neatly, secure with cable ties, and leave space for heat dissipation .
Installing Protective Devices
Install circuit breakers, fuses, and RCCBs as required for the system. Ensure each breaker corresponds to a specific circuit and is rated appropriately for the load . Label each circuit clearly for future maintenance and troubleshooting .
Testing and Verification
After wiring, perform an insulation resistance test to verify that the wiring is properly insulated and safe . Reconnect the main power supply and check that all circuits are functioning correctly. Ensure that protective devices trip correctly under fault conditions.
Final Checks
- Confirm all screws and terminals are tight.
- Ensure wires are not touching sharp edges or tangled.
- Verify that the box is properly ventilated and accessible for maintenance . Following these steps ensures a safe, reliable, and code-compliant installation of a power supply in a distribution box, suitable for residential, commercial, or industrial applications.